Connecting to a remote desktop on a Mac is surprisingly straightforward with the right tools, giving you full access to a Windows PC from literally anywhere. The magic ingredient is the Microsoft Remote Desktop client, which builds a secure bridge between your macOS device and a remote Windows environment, like a server hosted with Cloudvara.
In today's flexible work culture, accessing a remote Windows PC from a Mac isn't just a niche trick for IT pros anymore—it's a daily reality for many. Maybe you're a creative professional who needs a specific piece of Windows software, or an accountant connecting to a secure server. Whatever the case, the ability to connect to a remote desktop on a Mac is crucial for staying productive.
This guide is here to take the technical guesswork out of the equation. We’ll focus on using the official Microsoft Remote Desktop app because it’s a reliable tool for creating a stable connection. You’ll learn exactly how to configure and launch a session, whether you're connecting to your office PC or a cloud-hosted service.
The growing preference for macOS in the business world has only amplified the need for dependable cross-platform tools. Macs are increasingly the machine of choice for their performance and slick user experience, but many industries still lean heavily on Windows-exclusive applications. This is where remote desktop technology steps in and becomes a critical bridge between two worlds.
The numbers don't lie. Between 2018 and 2023, the macOS share of the desktop operating system market climbed from 7.7% to 9.3%—that's a hefty 19.5% increase. This trend, pushed along by powerful new hardware and the shift to hybrid work, shines a spotlight on the growing demand for seamless remote access solutions for Mac users. You can dig into the full research on macOS market share trends on Accio.com.
Key Takeaway: As more professionals choose Macs, being able to reliably access Windows environments isn't just a nice-to-have. It’s a fundamental part of a modern, efficient workflow. This guide makes that connection simple and achievable for everyone.
Before diving into the setup, let's take a minute to gather the essentials. Think of this as your pre-flight checklist. Getting these few details sorted out now is the single best way to avoid the common hiccups that trip people up later. A little prep work ensures you’ll connect to your remote desktop on your Mac without a hitch.
First, double-check that your Mac is running a supported version of macOS. The Microsoft Remote Desktop client is officially built for the three most recent major versions of macOS. While it often works just fine on slightly older systems, staying current is always a good idea for the latest features and security patches.
Next up is your internet connection. This one's non-negotiable. You don't need fiber-optic speeds, but a stable and consistent connection is absolutely critical for a responsive remote session. A choppy Wi-Fi signal will lead to lag, disconnects, and a whole lot of frustration.
Now for the most important part: your login details for the remote machine. Without these, you’re not going anywhere. You'll want to have this information handy from your IT admin or your Cloudvara service welcome email.
CORP-DESKTOP-123, or a specific address provided by your hosting service. A single typo here is the number one cause of connection errors, so check it carefully.DOMAIN\username or even an email-style address like username@company.com.Keeping these credentials safe is just as important as getting them right. If you want to dive deeper into securing your remote sessions, taking a look at these remote access security best practices is a great next step to keep your data protected.
Nailing these three details from the start is the secret to a fast, successful connection.
With your credentials in hand, the next move is to get the official Microsoft Remote Desktop client. This is the app that bridges the gap between your Mac and the remote Windows environment. The safest and easiest way to grab it is directly from the Mac App Store, which ensures you’re always running the latest, most secure version.
Once it's installed, firing up the app reveals a clean, straightforward interface. The main task here is to add a new connection—what the app calls a "PC." This is where you'll plug in the details your IT admin or Cloudvara welcome email provided. Don't worry if the fields look a bit technical; each one serves a simple purpose.
This infographic breaks down what you need to successfully connect: a properly set up computer, a stable network, and the right login details.
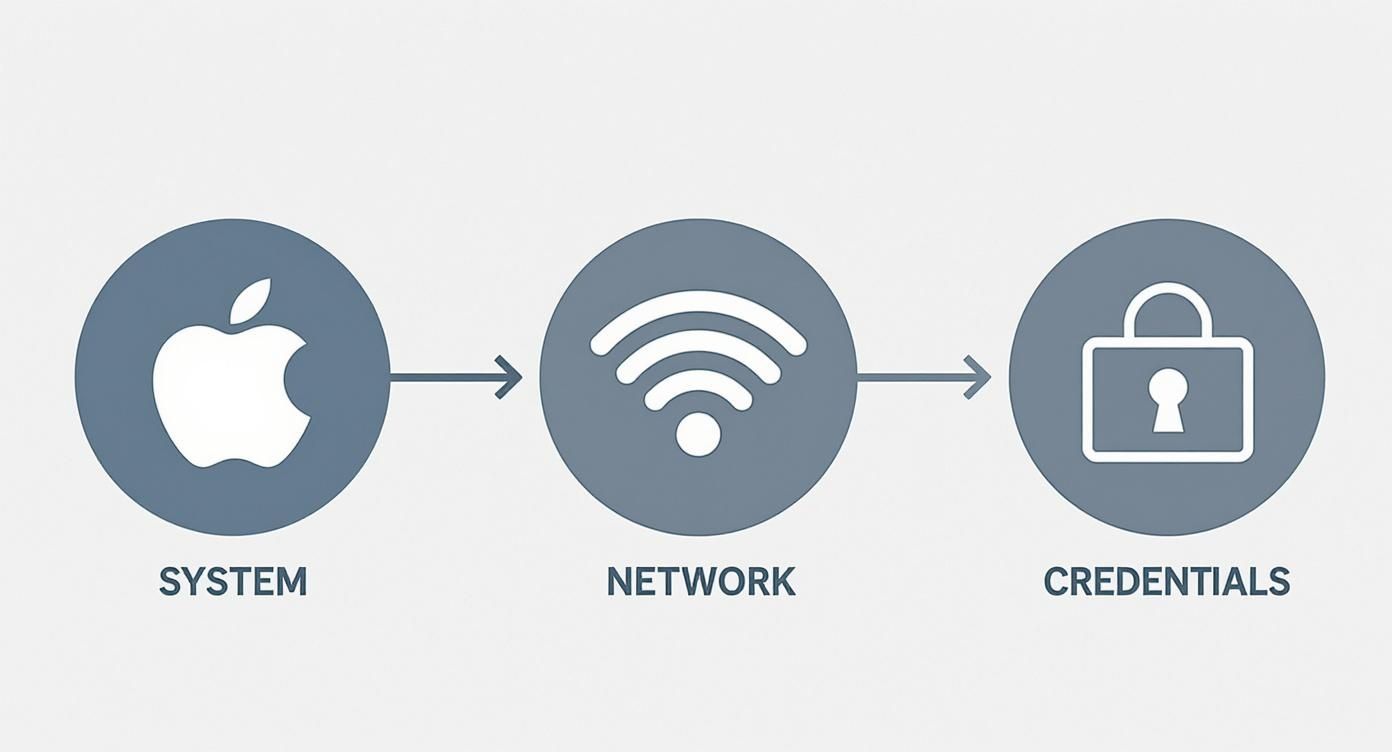
Think of it as three pillars holding up your connection. If one is shaky—your local machine isn't configured, the Wi-Fi is spotty, or your password has a typo—the whole thing won't work.
When you click to add a new PC, a window will pop up asking for a few key pieces of information. This is the most important step in the whole process, so take your time and get it right.
To make things easier, here's a quick rundown of what those fields mean and what to put in them.
| Setting Field | What It Means | Example for Cloudvara |
|---|---|---|
| PC name | The server address or computer name you're connecting to. | yourcompany.cloudvara.com |
| User account | Your specific login credentials for the remote machine. | You can save this for faster access later. |
| Friendly name | A simple, memorable name for this connection. (Optional but helpful!) | "Work Desktop" or "Cloudvara Server" |
This quick reference should clear up any confusion and help you fill out the connection details with confidence.
Pro Tip: Always use the "Friendly name" field. If you ever need to connect to multiple remote desktops, giving them distinct names like "Work Desktop" and "Accounting Server" will save you a lot of guesswork down the road.
This simple setup is the engine behind a massive shift in how we work. The global remote desktop software market was valued at $3.33 billion in 2024 and is projected to skyrocket to $11.98 billion by 2032, according to market analysis from Fortune Business Insights. This growth is all thanks to industries like healthcare, IT, and education relying on this exact technology.
After you've entered and saved everything, your new remote desktop connection will appear in the main window, ready to go. Just double-click it. The first time you connect, you might see a pop-up asking to verify a security certificate—this is completely normal. Go ahead and accept it. In moments, your remote Windows desktop will appear right on your Mac's screen.
If you're curious about the tech making all this happen, you can dive deeper into what a remote desktop connection is and how it functions.

Getting your remote session launched is a great first step, but the real goal is making it feel just as responsive as your local machine. A few small adjustments to your connection settings can completely transform your workflow, turning a basic remote view into a seamless, high-powered workspace.
These tweaks are essential when you connect to a remote desktop on mac for your daily work.
The first place I always look is the Display tab within your remote PC's settings. This is where you can dial in the session's resolution. If you’re working from a location with a spotty connection, dropping the resolution can make a huge difference in performance and cut down on frustrating lag.
Of course, a fluid experience depends heavily on your connection speed. Knowing the ideal internet speed for working from home can help you figure out if your internet is the real bottleneck.
One of the most powerful features you can enable is device redirection, which lets you tap into your Mac's local resources from inside the remote session. You'll find these settings under the Folders or Devices & Audio tabs.
This feature is a lifesaver for creating a truly integrated workflow. It lets you:
These settings aren't just for convenience; they're critical for staying productive when switching between operating systems. With macOS and OS X holding a combined market share of over 12%, powerful cross-platform tools are no longer a luxury—they're a business necessity.
And don't forget about your physical setup. If you work with multiple screens, learning how to set up a remote desktop with two monitors can be a total game-changer, giving you the expanded digital workspace you're used to. Taking a few minutes to explore these settings will pay dividends every single time you connect.
So you've entered your credentials, but you’ve hit a roadblock. A cryptic error message or just a blank screen can be frustrating, but don't worry—these issues are almost always fixable with a little systematic troubleshooting. Most problems you'll encounter when trying to connect to a remote desktop on Mac fall into just a few common buckets.
The most frequent culprit? A simple typo. Before you dive into complex settings, take a second look at the "PC name" field. Double-check that the address you entered exactly matches what your administrator gave you. Even one misplaced letter or dash will stop the connection cold.
Network hiccups are another usual suspect. Is the remote PC actually on and connected to the internet? Is your own Mac's Wi-Fi connection stable? Sometimes, a quick restart of your home router or the remote machine is all it takes to clear a temporary glitch.
If you've ruled out the basics, it's time to dig a little deeper. Authentication failures, for example, often point to an incorrect password or a username that needs a domain prefix (think DOMAIN\username). It's also worth thinking about your network's security. Corporate firewalls or specific port configurations can easily block remote connections by design.
For trickier problems, your Mac’s own reports might hold the answer. If you're troubleshooting a persistent issue, it can be really helpful to learn about diagnosing Mac system issues by viewing system logs. This can offer clues that aren't immediately obvious.
Key Insight: Don't assume the problem is complicated. In my experience, over 90% of connection failures come down to incorrect credentials, a network blip, or the remote PC simply being asleep or turned off. Always check the simple stuff first.
If you have a feeling the issue is related to network ports, our guide on how to handle a remote desktop port change can give you some valuable context for a conversation with your IT department. By methodically working through these potential hurdles, you can get most issues sorted out in just a few minutes.
Once you're up and running, a few questions almost always pop up. Let's tackle the most common ones we hear from Mac users to help you get the most out of your remote session.
This is a frequent point of confusion, so it's worth clearing up. The Microsoft Remote Desktop client is built for one-way traffic: connecting from your Mac to a Windows-based computer or server.
It’s not designed to let you control your Mac from another device. For that kind of access, you'd need to use macOS's built-in Screen Sharing feature or a different third-party tool.
Absolutely. When set up correctly, the connection is protected by robust encryption protocols that shield your data from a to b. Your session is kept private from eavesdroppers, making it a safe way to handle sensitive work files.
Of course, security is a two-way street. Always use a strong, unique password for your remote account. If your provider offers it, enabling two-factor authentication is another great layer of protection.
By default, Remote Desktop Protocol (RDP) uses Transport Layer Security (TLS) to encrypt data. This is the same security standard that protects online banking and e-commerce sites, so you can be confident your remote session is private and secure.
Device redirection is a powerful feature, but it has its limits. While you can easily redirect local printers, microphones, and storage folders to the remote session, full webcam redirection is not supported by the official Microsoft Remote Desktop client for macOS.
This is a common limitation in many remote desktop solutions. If video conferencing from within your remote session is a must-have, you'll need to plan your workflow around it. For scenarios where this is a critical part of your work, exploring comprehensive hosted virtual desktops can provide more deeply integrated solutions.
Ready to centralize your applications and simplify remote access? Cloudvara offers secure, reliable, and fully managed cloud hosting that works seamlessly with your Mac. Get started with a free 15-day trial and experience the difference today.