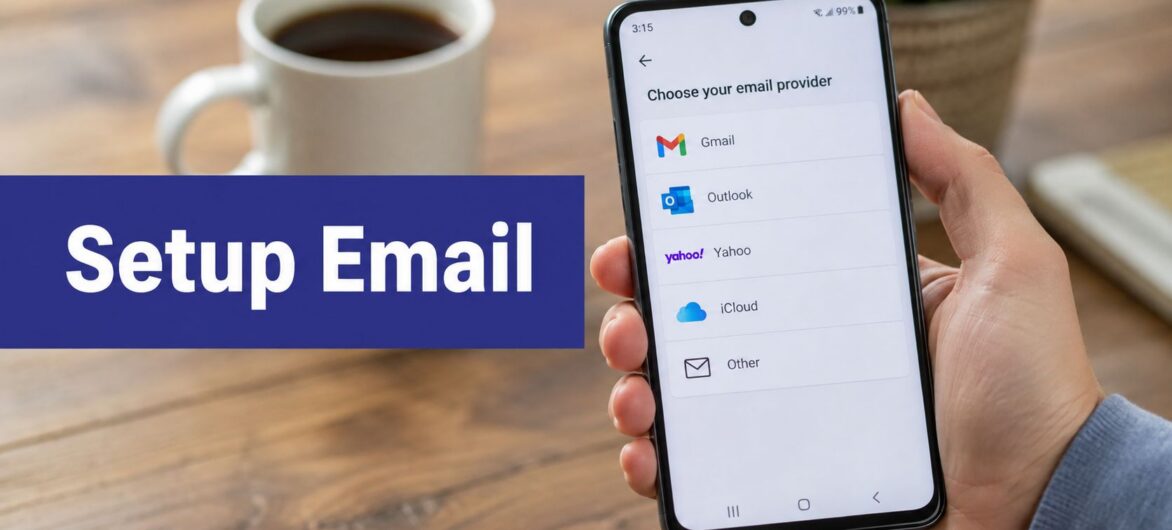
You're usually dealing with this at the exact wrong moment. A new phone is on the desk, a client is waiting on a reply, and the mailbox that worked fine on desktop is suddenly asking for server names, passwords, or a code you didn't expect.
Setup email on Android looks simple when the account is a modern Google or Microsoft login, but hosted business mail is different. The phone is still working through older mail protocols, provider detection, server sync, and security checks, so the right path depends on whether you're adding a consumer mailbox, a managed Microsoft account, or a hosted IMAP mailbox that lives behind a company domain.
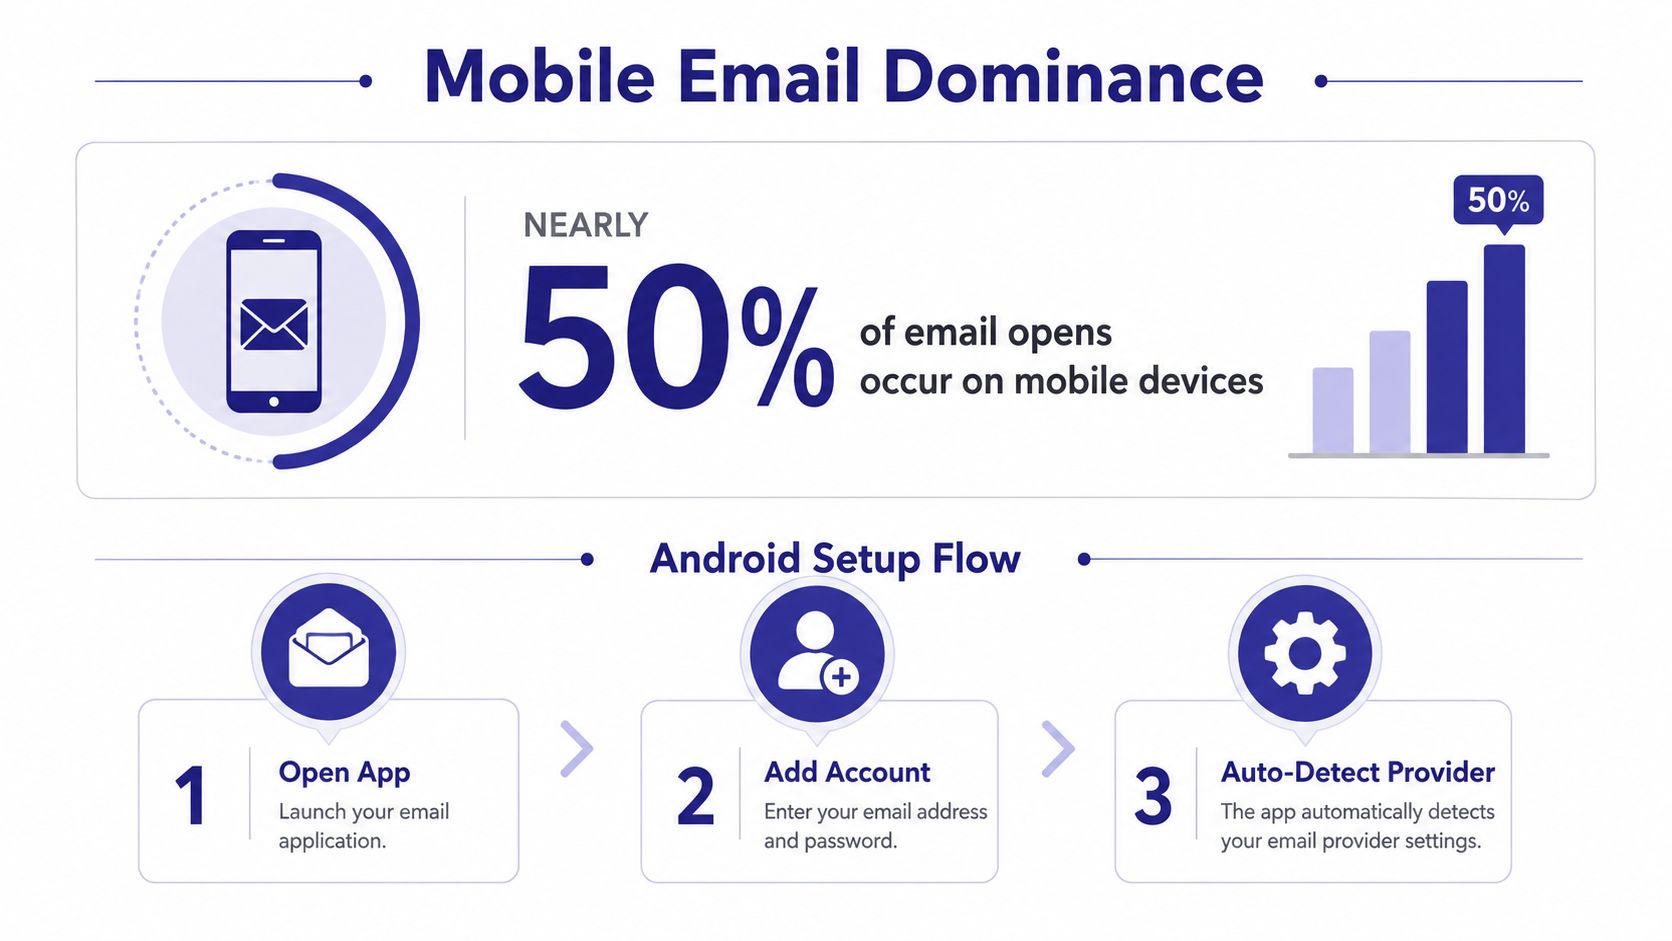
Mobile email is where many feel inbox pain first. Recent email-industry reporting cited in 2026 shows that 46% of all email opens happen on mobile devices, and mobile open rates range from 26% to 78% depending on the audience, so a broken phone mailbox doesn't stay a small inconvenience for long. It turns into missed replies, broken threads, and delayed approvals, especially for teams that live in Outlook, Gmail, or hosted business mail.
That's why the Android workflow matters so much. A clean setup gives you fast access to mail, and it keeps business communication moving when you're away from a laptop. A bad setup does the opposite, because the message may still arrive on the server while the phone fails to sync.
Practical rule: if the inbox works on desktop but not on Android, suspect the account settings first, not the handset.
By the end of a proper setup email on Android process, you should be able to do three things without guesswork. You should know how to add a Gmail or Outlook account quickly, how to fall back to manual IMAP or POP when a hosted mailbox won't auto-detect, and how to handle two-factor and app-password prompts without resetting the whole account.
For teams that rely on hosted Microsoft mail, QuickBooks-connected addresses, Sage workflows, or CRM-linked inboxes, that distinction matters. The phone is just the client. Work is making sure Android talks to the right server with the right security settings, so the mailbox behaves the same way on every device. If your organization has moved into more distributed work, the practical context around mobile access matters just as much as the mail app itself, which is why many teams now treat mobile readiness as part of broader remote-work planning. Cloudvara's remote-work overview fits that same reality.
Start with the device, because outdated software creates avoidable friction. A current Android build and updated Google Play Services usually mean better sign-in handling, cleaner sync behavior, and fewer odd prompts during account onboarding. The exact phone brand matters less than whether the device is current enough to support modern authentication cleanly.
Make sure you know the mailbox password, the account is active, and any admin-imposed security rules are already understood. If the provider uses two-factor authentication, don't assume the normal password will work in a third-party mail client. Have the welcome email or account setup note handy too, because that's often where the provider hides the mailbox's hostnames, port guidance, and special instructions.
Choose the app with the mail type in mind. The Gmail app works well for Google accounts and many consumer providers. The built-in Email app on some Samsung and stock Android devices can handle older accounts cleanly. Outlook for Android makes the most sense when the mailbox is Microsoft 365 or hosted Exchange. For broader endpoint hygiene, Cloudvara's remote security guidance is a useful companion when you're onboarding phones that will travel between office, home, and client sites.
If you don't know whether the account is Google, Exchange, or plain hosted IMAP, stop and confirm that first. Guessing at the app saves nothing and usually adds one more failed login.
The fastest path is always the one that lets the app identify the provider automatically. If that works, you're done in a few taps. If it doesn't, the account still isn't broken, it just needs manual details from the provider.
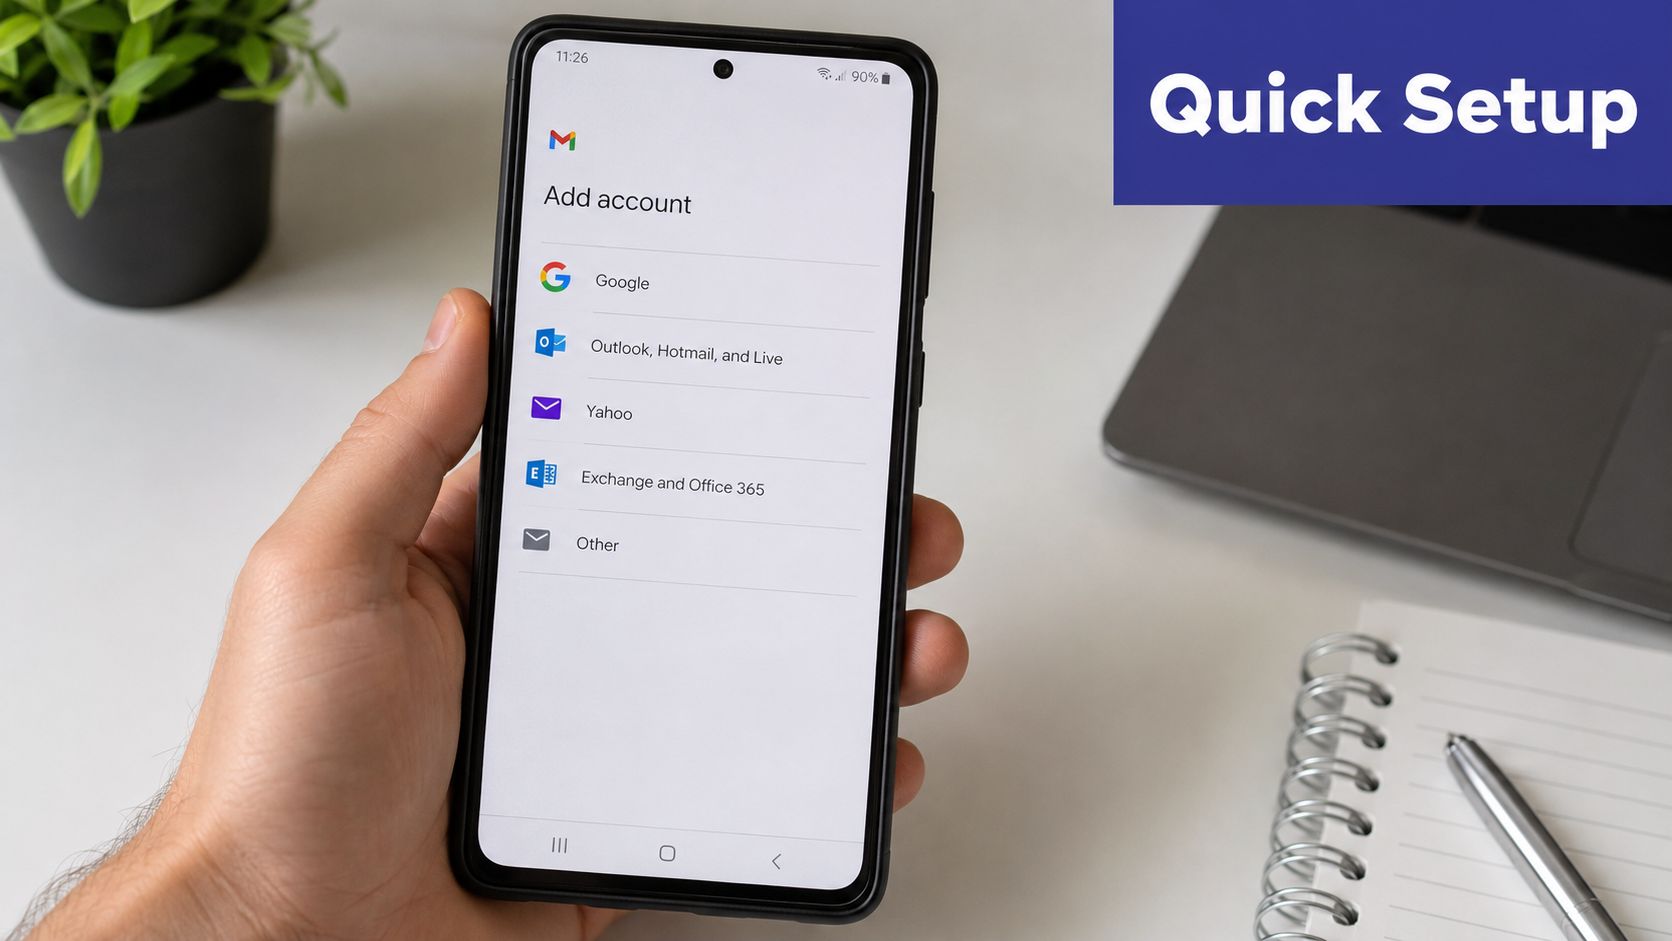
The cleanest setup starts in the app itself. Open Gmail or the phone's Email app, tap the profile icon or menu, and choose Add account. Android mail clients are built to try automatic detection first, so the address and password may be enough when the provider is common and the mailbox is standard.
If the account is Google, Outlook, Yahoo, or Exchange, the app often moves straight into a sign-in screen and completes setup after authentication. The inbox, folders, and sometimes calendar sync will appear after the first connection finishes. That's the consumer-style experience people expect, and it does work when the provider is supported.
The important part is not to fight the auto-detect step too early. Let the app decide whether it can identify the mailbox on its own. If it succeeds, you avoid typing server names you may never need.
A practical workflow many admins use is simple:
For a handy way to move messages into the right place after setup, forwarding an email as an attachment is often useful when you're escalating a weird login or mail-duplication issue to support.
If you're helping with a Google Workspace migration, a practical reference is Google Workspace migration Indiana, especially when the main issue is less about Android and more about which account the user should be signing into. When auto-detect fails, the app usually drops you into manual setup, and that's where hosted business mail starts to look different from consumer mail.
Manual setup is the normal path for many hosted business mailboxes. Law firms, accounting firms, nonprofits, and small businesses often use a domain-branded address behind a provider that won't auto-detect cleanly on the first pass. In that case, Android asks for server details, and you have to be precise.
For a working professional, IMAP is usually the right choice because mail stays synchronized on the server across phone and desktop. POP3 downloads messages to one device, which makes it a poor fit for people who check mail from more than one place. If the inbox must stay consistent everywhere, IMAP is the safer default.
The manual fields usually follow the same pattern. The incoming server is often the provider's IMAP host, the username is the full email address, and the password is the mailbox password or app password. For outgoing mail, the SMTP server, port, and encryption setting need to match the provider's mail policy.
| Setting | IMAP (Incoming) | SMTP (Outgoing) |
|---|---|---|
| Server type | IMAP | SMTP |
| Common server name | imap.domain.com or mail.domain.com | smtp.domain.com |
| Port | 993 | 465 |
| Encryption | SSL/TLS | SSL/TLS |
| Username | Full email address | Full email address |
| Password | Mailbox or app password | Mailbox or app password |
A frequent setup mistake is copying a server name from an old tutorial or a different provider. Another is entering only the part before the @ symbol as the username, which triggers authentication problems immediately. Those two errors are behind a surprising amount of “can't connect” frustration.
Practical rule: if the mailbox is hosted and must sync across devices, start with IMAP. Reach for POP3 only when the provider or workflow specifically requires it.
Expert setup guides also note that sync can take a few minutes after successful sign-in, especially for larger mailboxes, so don't assume nothing happened the second you tap Next. Give the app time to finish pulling folders and headers before you troubleshoot the connection itself.
Outlook for Android is the natural fit when the mailbox sits in Microsoft 365 or hosted Exchange. Microsoft's current guidance still supports a manual path when automatic detection doesn't work, and that matters because business accounts often carry extra policy layers that consumer mail doesn't.
The onboarding flow is straightforward. Install Outlook, tap Get Started, enter the work address, and let the app identify the account type. If the organization uses Exchange or Microsoft 365, the sign-in can complete through the Microsoft authentication flow instead of a plain password prompt. From there, mail, calendar, and contacts can sync into one place.
The bigger difference is policy. A business mailbox can require a PIN, block forwarding, or enforce two-factor rules that the user can't override from the phone. That's not a bug. It's the admin's security posture taking precedence over the handset.
For hosted Microsoft environments, Outlook is usually stronger than mixing a separate mail app with calendar and contacts. It reduces the number of moving parts, and that matters when staff need consistent access on a device that might be replaced, lost, or re-enrolled later. If you're standardizing Microsoft hosting for a small office, Cloudvara's Office 365 cloud hosting is a relevant option to compare against other hosted mail approaches.
Microsoft's Android guidance also makes a useful point for support teams. When automatic detection isn't available, the setup still comes back to the same manual choices, IMAP, POP3, or Exchange, plus the server details the account expects. That's why Outlook failures are often policy or server-related, not app-related.
A phone moves. That's the whole problem and the whole reason security has to be part of setup. A mailbox password alone isn't enough when the same device can sit on office Wi-Fi, client networks, and public hotspots in the same week.
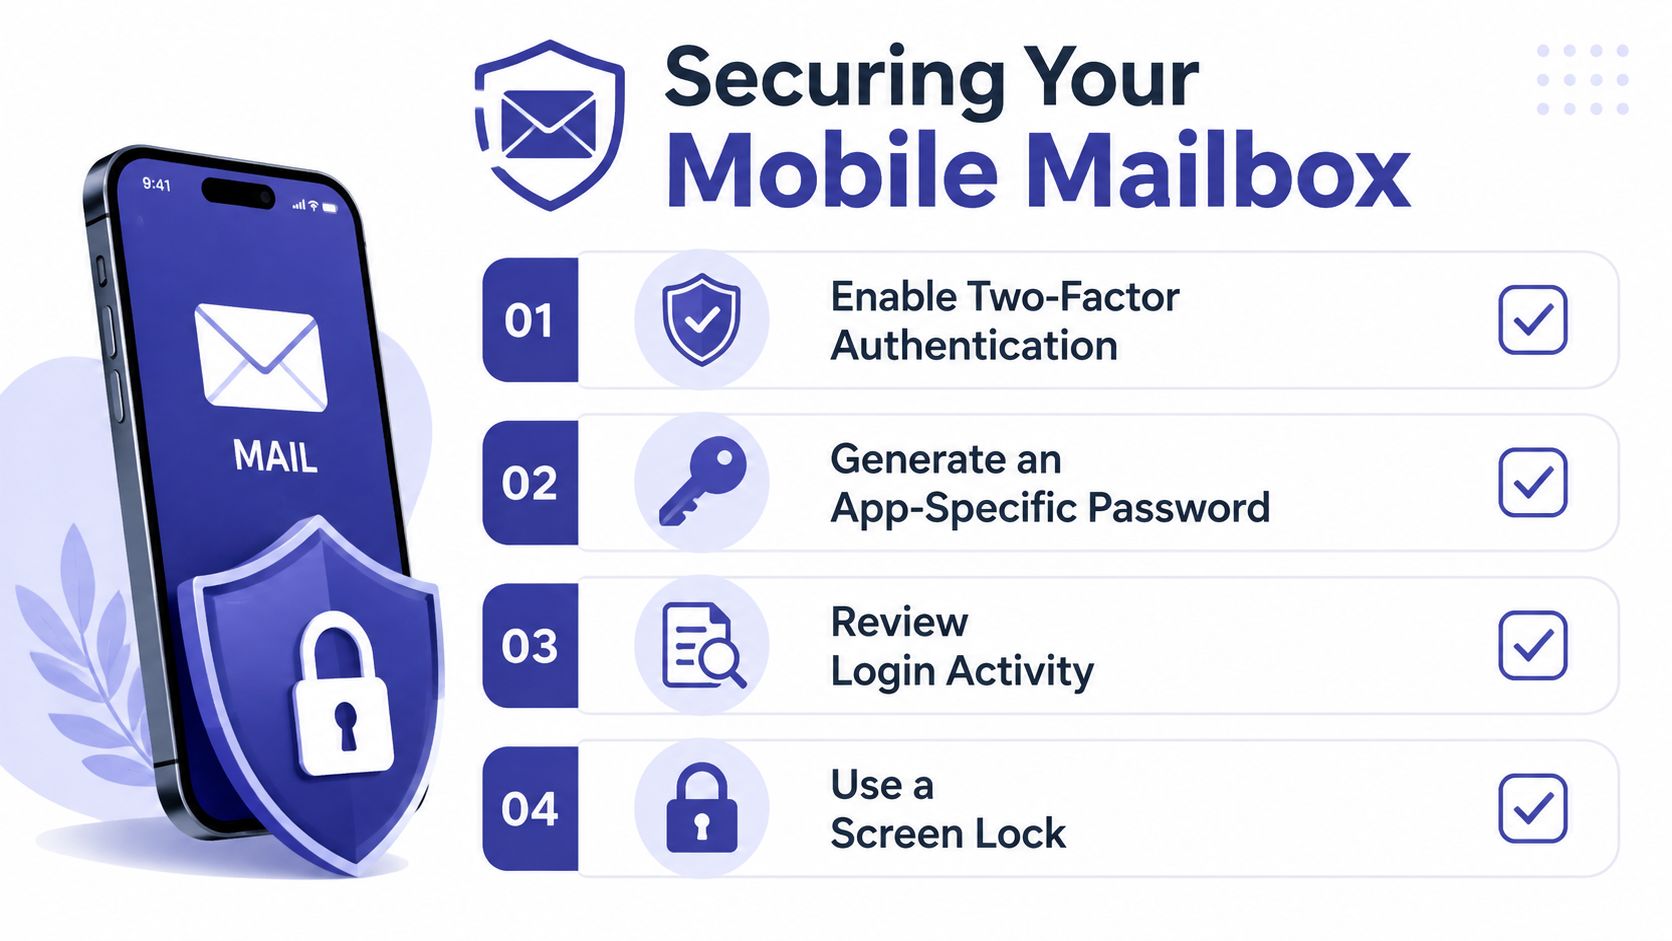
With two-factor authentication, the user signs in with something they know and something they have. That second factor might be a code from an authenticator app, an SMS prompt, or a hardware key. On mobile mail apps, that often means the usual mailbox password stops being enough by itself.
That's where app passwords come in. Many 2FA-enabled Google, Microsoft, and hosted mail accounts generate an account-specific password for non-browser clients like Android mail or Outlook for Android. If the normal password gets rejected after 2FA is turned on, that one-time app password is usually the fix.
Keep the device side tight too. Turn on screen lock, use remote wipe where your organization supports it, keep the OS current, and avoid sideloaded mail apps from outside the Play Store. A lost phone should be an inconvenience, not a mailbox breach.
A useful support habit is to review login activity and connected devices periodically from the provider's security dashboard. That helps catch forgotten tablets, old phones, and stale sessions before they become real exposure.
Cloudvara's explanation of two-factor authentication fits naturally with this part of the setup, because the mail client on Android is only one piece of the control stack.
Most Android mail failures fall into a small handful of patterns. Once you know the pattern, the fix is usually obvious. The symptom matters, because “authentication failed” points somewhere different from “server not responding.”
Practical rule: if the account works on one device and not another, the server settings are usually the problem. The Android phone is just exposing the mismatch faster.
Setup failures are commonly tied to incorrect server names, ports, or security settings rather than the Android device itself, which is why the first response should be configuration review, not phone replacement. After the account works, keep it dependable with a short handoff checklist for every new staff device: update the OS, install the right app, add the account, set sync to push where available, enable screen lock and remote wipe, and send a test message both ways.
For teams standardizing hosted business mail on a secure cloud platform, it's worth looking at a provider that centralizes access and support instead of spreading mail across ad hoc devices. Cloudvara offers hosted application environments, 24×7 support, and a free 15-day trial, so if you're cleaning up Android mail setup across a team, visit Cloudvara and compare what a controlled cloud mailbox workflow looks like in practice.