
So, you want to connect to RDP from a Mac. The go-to tool for this is usually the official Microsoft Remote Desktop app, which you can grab right from the Mac App Store. This little app is the bridge that lets you access a Windows PC or a cloud-hosted environment directly from your macOS device, closing the gap between the two operating systems. Getting this right is a huge step toward making remote work feel effortless.
In today’s flexible work culture, being able to access Windows-only software from a Mac isn't just a nice-to-have—it’s a fundamental business need. Think about professionals in accounting or law who live in tools like QuickBooks or specialized case management systems. For them, this capability is everything. You get to stick with the macOS you love while tapping into the full power of a Windows desktop, whether that machine is sitting in your office or hosted securely in the cloud.
This guide isn't about throwing a bunch of technical jargon at you. It’s about practical, real-world steps. We'll walk through how setting up a stable RDP connection can smooth out your workflow and genuinely make you more productive.
The reality is, we live in a mixed-platform world. While macOS has a loyal following, Windows still runs the show on 70.21% of desktops globally. That number alone shows why a rock-solid connection between these two worlds is non-negotiable for so many businesses.
Beyond just getting access, connecting to RDP from your Mac is a powerful way to make remote work truly seamless. It can seriously boost your efficiency. If you're looking for more ways to stay on top of your game, check out these strategies for staying productive while working from home.
Key Takeaway: The ability to connect to a Windows environment isn't just about using one specific app; it's about creating a unified, efficient workspace that ignores traditional operating system boundaries. To get a deeper understanding, check out our guide on the fundamentals of what a remote desktop connection is.
The official Microsoft Remote Desktop app is the starting point for most users, giving you a solid, feature-rich experience right out of the box.
Here you can see the app's main screen—it’s a clean interface where you can quickly add and manage all your connections to different PCs and workspaces.
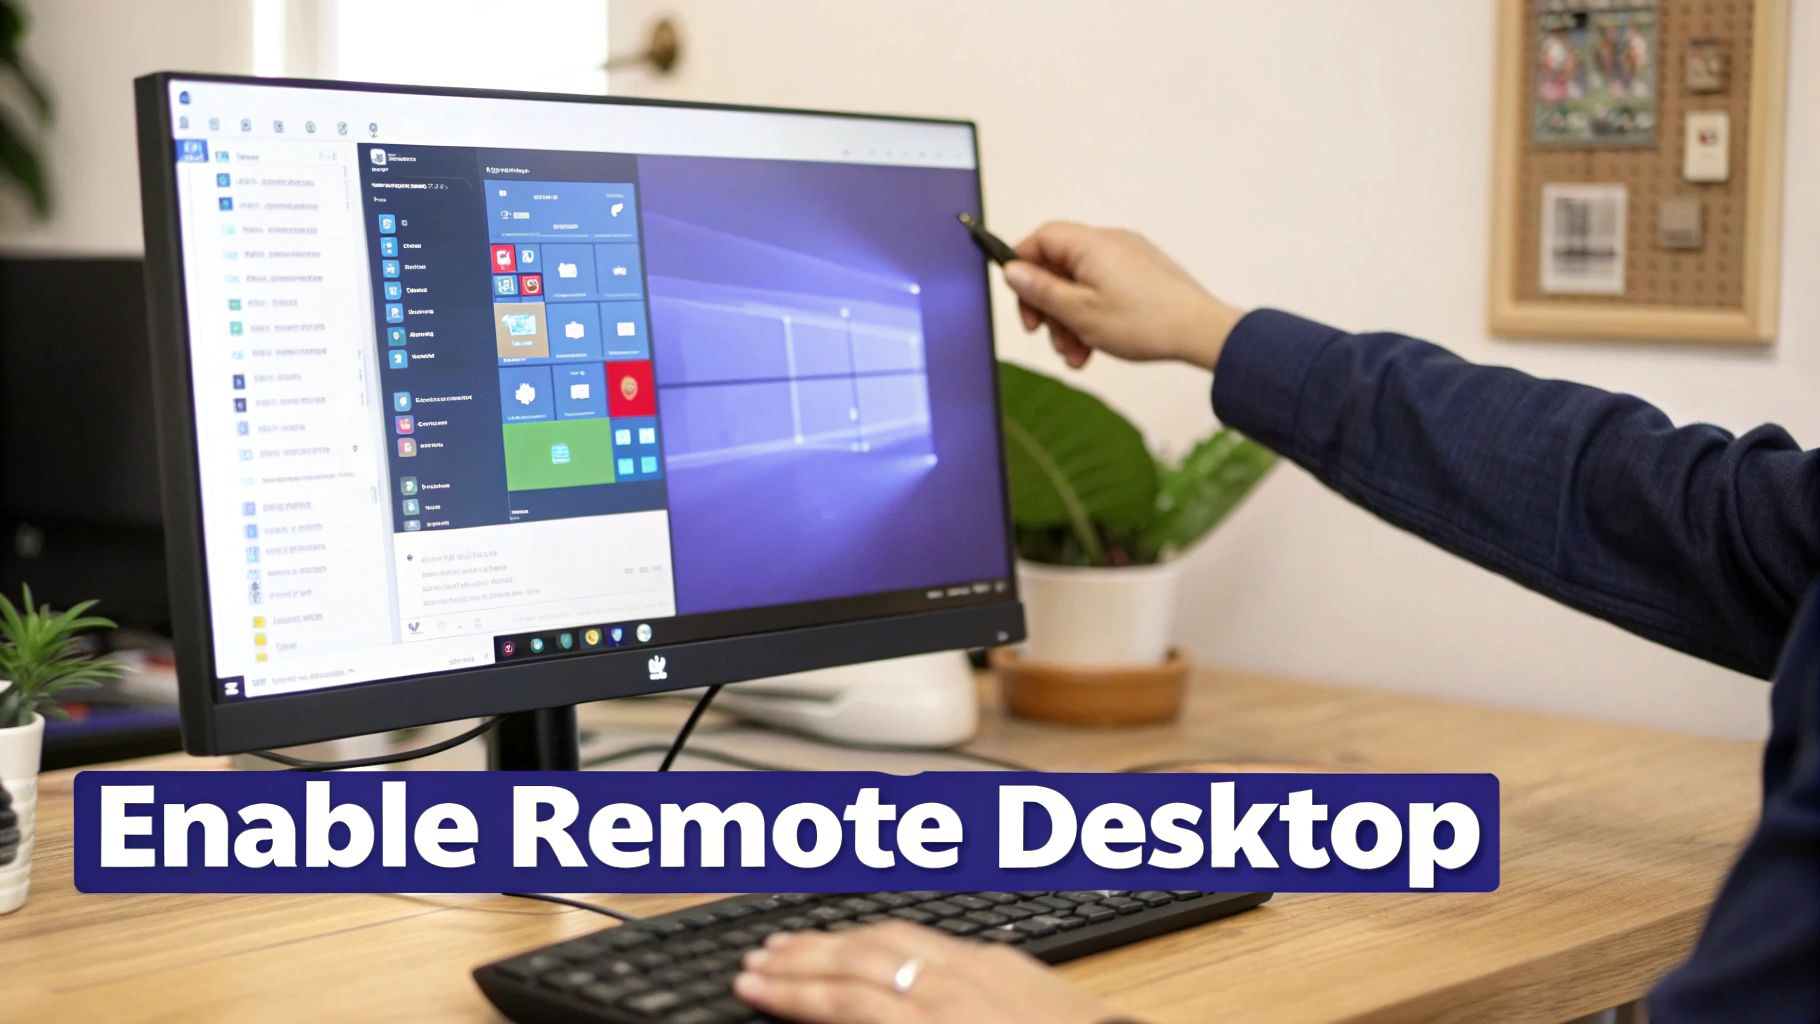
Before you can fire up a remote session from your Mac, the Windows machine needs to know it's okay to let you in. Think of this as opening the front door. This initial setup is pretty quick, but it's the absolute foundation for a stable and secure connection. If you skip this, your Mac’s connection request will go nowhere.
First things first, you have to enable the Remote Desktop feature on the Windows PC. A common snag people hit right away is the version of Windows they're running. This feature is only available in Windows Pro, Enterprise, and Server editions. If you're using a Windows Home edition, you won't be able to host an incoming RDP session.
Getting started is simple. Head over to your Windows settings, which you can find by navigating to Settings > System > Remote Desktop. You'll see a straightforward toggle switch—just flip that to turn Remote Desktop on.
Windows will then pop up a confirmation, letting you know your PC is now discoverable on the network. That’s exactly what we want.
Next, you need to decide who gets the keys. By default, the account you’re currently logged into will have access, assuming it has administrator rights. To add other people, just click "Select users that can remotely access this PC" and add their accounts.
Pro Tip: For your own peace of mind, only grant remote access to specific, named user accounts. Avoid generic logins at all costs and make sure every user has a strong, unique password. This is your first and most important line of defense.
With remote access enabled, your Mac now needs to know where to find the Windows machine. You have two main options for the "address":
Settings > System > About. It’s usually the easiest to remember.ipconfig, and look for the IPv4 address.Finally, you need to make sure the Windows Defender Firewall isn't blocking the connection. Usually, when you enable Remote Desktop, Windows is smart enough to create the necessary firewall rule automatically. Still, it never hurts to double-check.
Look for a rule named "Remote Desktop" and ensure it's enabled for your network profile (Private, in most cases). This step ensures the PC's own security doesn't get in your way. For a deeper dive into more complex network setups, our guide on how to access a server remotely covers these security considerations in more detail.
Getting these small but crucial details right from the start is what makes the difference between a successful connection and a frustrating error message.
Alright, with your Windows machine prepped and waiting, let's get your Mac ready to connect. This is where we'll install and set up the client software that makes the magic happen. The go-to choice for most people is the official Microsoft Remote Desktop app, which you can grab right from the Mac App Store.
Getting the app is a piece of cake. Just pop open the App Store on your Mac, type "Microsoft Remote Desktop" into the search bar, and hit install. Once it's downloaded, you'll have a powerful tool ready to link up with your Windows environments, whether that’s a computer in the next room or a secure, hosted desktop from us here at Cloudvara.
When you launch the app for the first time, you'll see a clean, empty dashboard. The first thing you'll want to do is add a new connection. Find the “+” button, and from the dropdown, choose “Add PC.” This will bring up a window where you'll plug in all the details needed to bridge the gap to your Windows machine.
Think of this as the control panel for your remote session. You’ll need the PC name or IP address you found earlier. For example, if you're connecting to a machine in your office, you might type in OFFICE-DESKTOP-01 or its local IP. For a Cloudvara server, you'll use the unique server address we sent in your welcome email.
Here are the key fields you'll need to fill out:
For professionals in accounting or law who access various client systems, using clear, friendly names is a lifesaver. It’s a small habit that cuts down on confusion and saves a surprising amount of time.
Beyond the basic connection info, the app has several tabs that let you really dial in your experience. Tweaking these settings can dramatically improve your workflow and make the remote desktop feel less like a window and more like a native part of your Mac.
The "Display" tab gives you control over resolution, color quality, and whether you want the session to launch in full-screen mode. A pro tip: if you're on a spotty Wi-Fi connection, dropping the color quality from 32-bit to 16-bit can make the session feel much snappier.
The "Devices & Audio" tab is where the real power lies. This is where you can redirect your local Mac resources over to the remote Windows session. You can set it up to:
This tight integration is a big reason why so many people stick with the official Microsoft client. It just works. But it's not the only option out there. To see how it stacks up against the competition, take a look at our detailed comparison of the best remote desktop software.
This rise in Mac users connecting to remote desktops reflects a bigger trend toward using multiple devices in professional settings, something we see all the time with accounting firms moving to the cloud. In fact, the global remote desktop market, valued at $4.49 billion in 2025, is expected to hit $10.51 billion by 2032, largely driven by the security and flexibility of hosted solutions.
While the official Microsoft RDP client is a solid, reliable choice for Mac users, it's not the only game in town. Other tools like Splashtop and TeamViewer offer different feature sets that might be a better fit depending on your specific needs, like unattended access or enhanced collaboration tools. Here’s a quick look at how they compare.
| Feature | Microsoft Remote Desktop | Splashtop | TeamViewer |
|---|---|---|---|
| Primary Use Case | Direct RDP connection to Windows Pro/Enterprise/Server | High-performance remote access for individuals, teams, and IT support | All-in-one remote access, support, and online meetings |
| Cost | Free | Subscription-based (offers free trial) | Free for personal use; subscription-based for business |
| Cross-Platform | Connects from Mac/iOS/Android to Windows | Connects from/to almost any device (Mac, Windows, iOS, Android, Linux) | Connects from/to almost any device (Mac, Windows, iOS, Android, Linux) |
| File Transfer | Yes, via folder redirection | Yes, dedicated file transfer window | Yes, dedicated file transfer window and drag-and-drop |
| Multi-Monitor Support | Excellent, native support | Yes, supports multi-to-multi monitor display | Yes, allows viewing multiple remote monitors on local screens |
| Security | Relies on RDP security, NLA, and optional RD Gateway | TLS and 256-bit AES encryption, device authentication, 2FA | End-to-end 256-bit AES encryption, 2FA, trusted devices |
Ultimately, the best tool depends on your workflow. For straightforward, secure access to a Windows desktop or a Cloudvara-hosted environment, the official Microsoft client is tough to beat. However, for mixed-platform environments or advanced support features, exploring alternatives is a smart move.
When you’re connecting to your work environment from a Mac, especially if you’re a legal or financial professional handling sensitive client data, a direct RDP connection just doesn't cut it. This is where a Remote Desktop Gateway (RD Gateway) becomes non-negotiable.
Think of it as a secure checkpoint. It manages and encrypts all incoming traffic before it ever gets a chance to touch your server.
This simple setup eliminates the need to expose the standard RDP port (3389) directly to the public internet—a massive security vulnerability that attackers actively scan for. Instead, all your communication gets tunneled through the RD Gateway over a secure HTTPS connection, the very same technology that protects your online banking.
Getting the gateway set up in your Microsoft Remote Desktop app is surprisingly straightforward. When you edit or create a PC connection, you won't find the gateway settings on the main "General" tab. It's a little hidden.
Look for a dropdown menu that likely says "No Gateway" by default.
Click that dropdown and select “Add Gateway.” From there, you'll be prompted for the gateway's server name. For instance, if you're a law firm connecting to a secure Cloudvara environment, you'd enter the specific address we provide. You can also link the same user account you use for the main PC connection, which keeps things nice and simple.
This small step transforms your remote access from a potential liability into a fortified, secure channel. For total protection, this setup should be part of your firm’s broader comprehensive cyber security strategies.
This diagram helps visualize the key stages of setting up your Mac for a remote connection, from installation to the final, secure link.
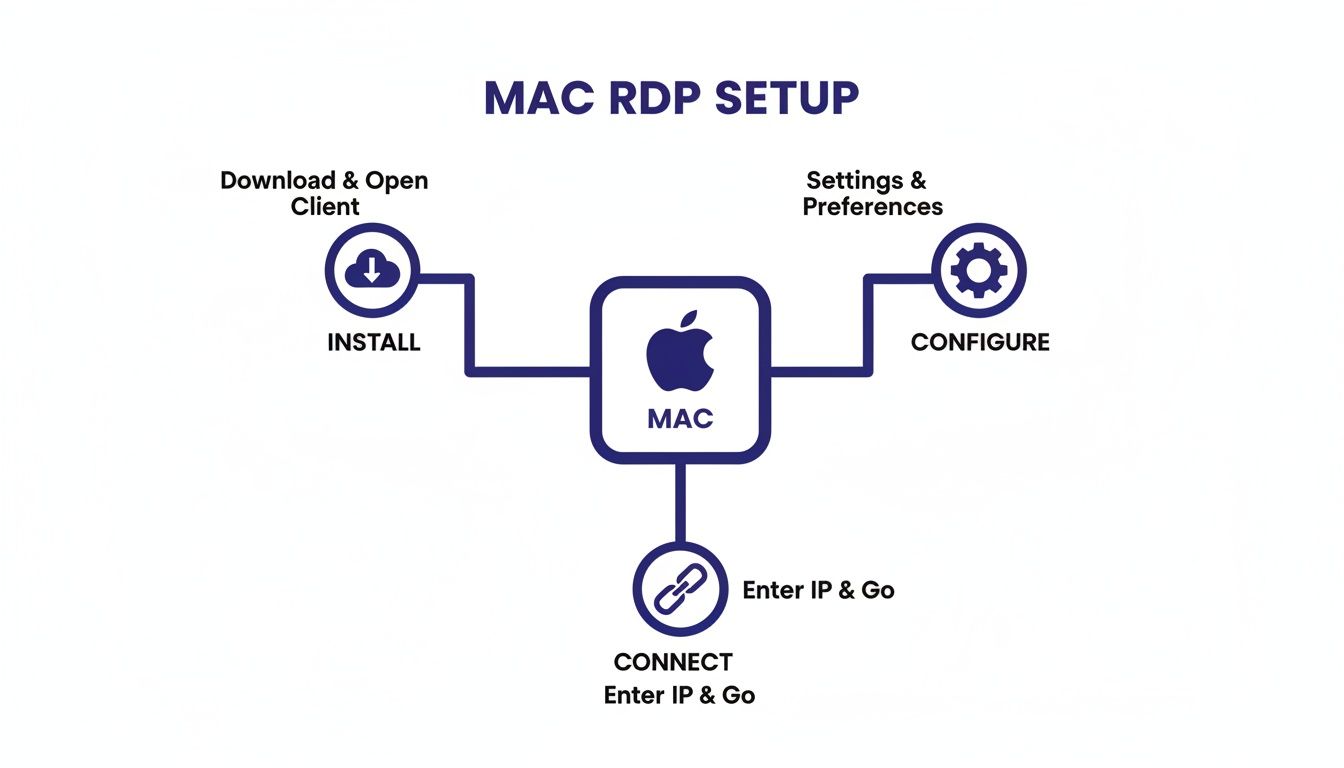
As you can see, a successful setup involves more than just plugging in an IP address. It requires careful configuration to create a stable and, most importantly, secure link to your work files.
An RD Gateway paves the way for what is arguably the single most effective security measure you can add: Two-Factor Authentication (2FA).
2FA requires a second form of verification on top of your password, usually a time-sensitive code from an app on your phone. Even if a cybercriminal manages to steal your login credentials, they’re stopped cold. They can't get in without having physical access to your second device.
This layered approach is no longer a luxury; it’s a necessity. It’s the key to protecting against unauthorized access and ensuring your firm stays compliant with the strict data protection regulations common in the legal and financial sectors.
At Cloudvara, we build this protection right into our hosting. It's how we help you avoid a data breach, which now costs businesses an average of $4.45 million per incident. By integrating enterprise-grade security like 2FA, we give smaller firms the same level of protection that the big players—who hold 57.6% of the market share—rely on.
This approach is proven to work. Companies report 80% satisfaction rates in hybrid setups that prioritize security and accessibility.
Integrating 2FA into your RDP setup is a critical step. To see exactly how it works and why it's so important, you can explore our detailed guide on implementing remote desktop two-factor authentication. Taking these extra security steps is the absolute best way to protect your firm’s data and your clients’ sensitive information.
Even with a perfect setup, you can still hit a snag trying to connect to RDP from a Mac. A sudden error message or an unexpected black screen is frustrating, but don't worry—most of these issues are surprisingly common and have straightforward fixes. This section is your field guide for getting things working again without having to call IT.
One of the most frequent roadblocks is the dreaded “Cannot Connect” error. It’s a generic message, but it almost always points to a breakdown in communication between your Mac and the Windows host. Before you start digging into complex settings, let's start with the basics.
First off, double-check the PC name or IP address you entered. You'd be surprised how often a simple typo is the culprit. Also, make sure the Windows machine is actually on, awake, and connected to the network.
If the address is correct, the next place to look is your network. Is there a firewall on your Mac, your router, or the Windows PC that might be blocking the RDP port? While the Windows Firewall is usually configured automatically when you enable RDP, corporate networks or third-party security software can definitely interfere.
Another common hiccup is the certificate warning. The Microsoft Remote Desktop client will often pop up a message saying it can't verify the identity of the remote computer.
A persistent certificate warning that you can't bypass could signal something more serious, like a man-in-the-middle attack. Never ignore these warnings when you're on an unfamiliar or public network.
What about when you connect successfully, only to be met with a black screen? This glitch often comes down to display settings. Head back into your connection's settings in the RDP app and try lowering the resolution or unchecking the "Use all my monitors" option. Sometimes, a simple mismatch in display configurations is all it takes to cause a problem. Our guide on using a remote desktop with two monitors has more tips for optimizing multi-screen setups.
Finally, let's talk about credential failures. If you are 100% certain your password is correct, the issue might be the username format. Try specifying the domain, like YOURDOMAIN\yourusername, or if it’s a local account, use PCNAME\yourusername. This small change clarifies the login context for the Windows machine, especially in a corporate environment, and often resolves those stubborn authentication errors. Taking a moment to verify these small details will fix the vast majority of connection problems you'll ever run into.
Even with the best instructions, you’re bound to run into a few specific questions when getting a Mac to talk to a Windows machine. Let’s tackle the most common ones we hear from our clients to get you unstuck and working smoothly.
This is probably the most frequent snag people hit, and the answer is a straightforward no. Microsoft’s Remote Desktop Protocol (RDP) is a business-grade feature, which means you can only host a remote session on a computer running Windows Professional, Enterprise, or Server editions.
Windows Home versions are built for personal use and just don't include the server-side components needed to accept an incoming RDP connection. If you absolutely must connect to a Windows Home machine, you’ll need to use a third-party tool like TeamViewer or Splashtop. The only other way around it is to upgrade the PC’s operating system to a Pro version, which instantly unlocks RDP hosting.
A choppy or laggy remote session is a productivity killer, but luckily, you have a few dials you can turn to speed things up. The first place to look is right inside the display settings for your connection in the Microsoft Remote Desktop app.
Give these tweaks a try:
Beyond the app’s settings, don’t forget about your own network. A wired Ethernet connection will almost always be more stable and quicker than Wi-Fi. This can make a world of difference, especially if you’re working in graphics-heavy accounting software with lots of complex reports.
I’ve found that the biggest performance gains often come from simply optimizing the display settings. It's a quick tweak that directly impacts how much data needs to be sent from the Windows host to your Mac, resulting in a much smoother experience.
Saving your password in the Microsoft Remote Desktop app feels convenient, but it's a classic trade-off between ease of use and security. When you save your credentials, the app stores them in the macOS Keychain—a system that is encrypted and generally quite secure. For a low-risk setup, like connecting to your personal PC at home, this might be an acceptable risk.
However, for professionals like accountants or lawyers accessing sensitive client data, it’s a risk you just shouldn’t take. The best practice is to never save the password directly in the connection settings.
Instead, always use a strong, unique password for your session. More importantly, your connection should be funneled through a secure RD Gateway that requires Two-Factor Authentication (2FA). This setup ensures that even if someone compromised your Mac or stole your password, that second authentication factor would stop them cold, keeping your firm's critical data safe.
Ready to stop worrying about server maintenance and security? At Cloudvara, we provide fully managed, secure cloud hosting for your essential applications, complete with 24/7 support and built-in two-factor authentication. Discover how we can simplify your IT by visiting us at https://cloudvara.com.